


This is the first blog post in a series about how we built a simple build server using webhooks and fastlane
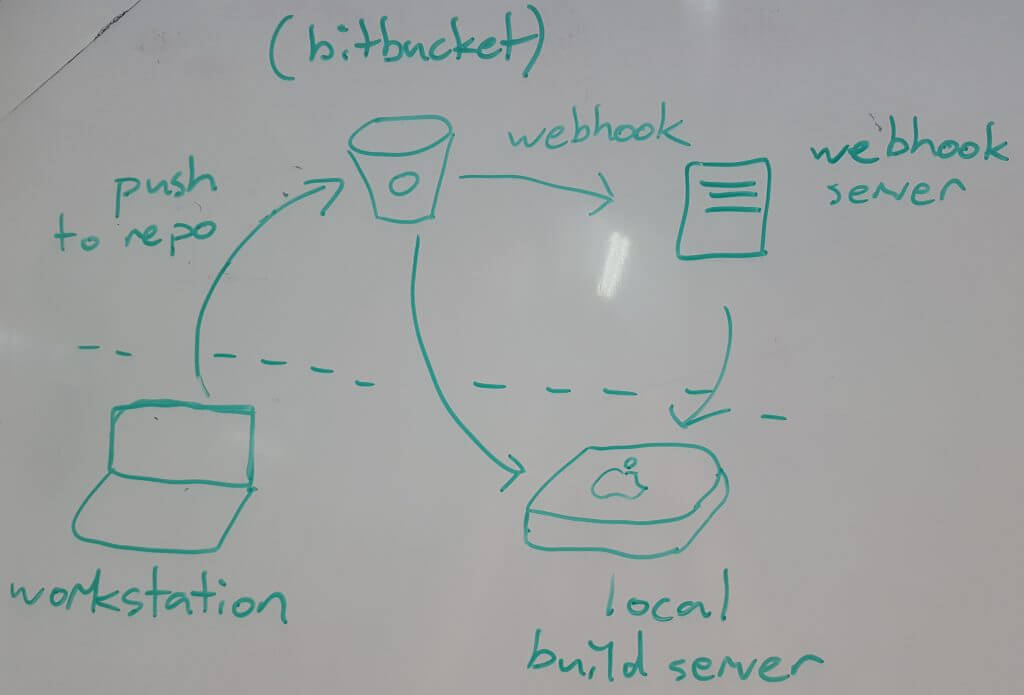
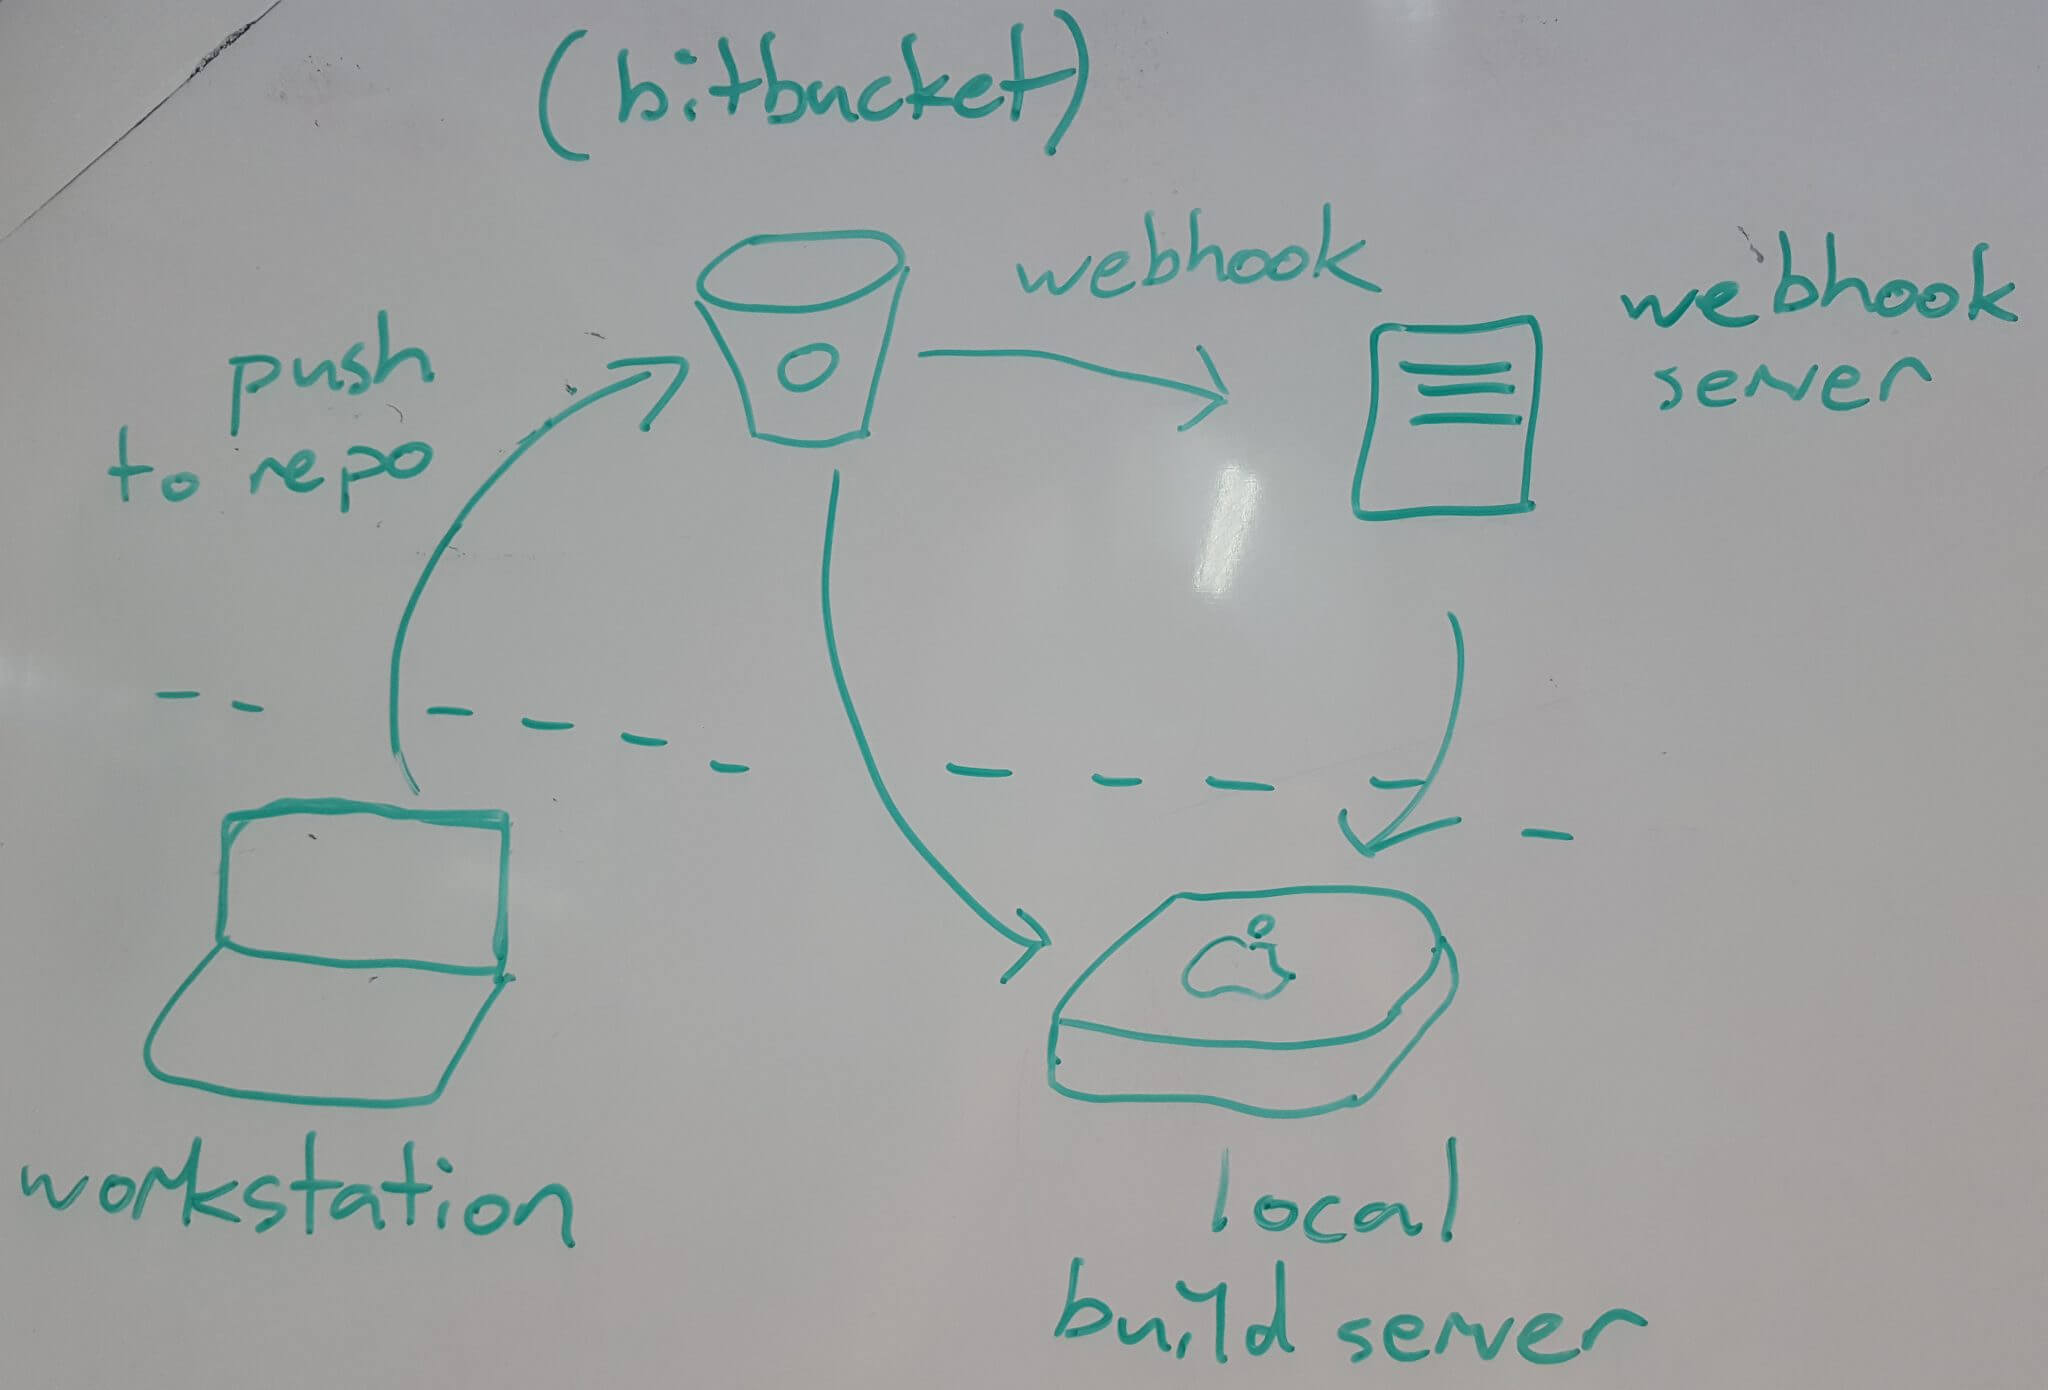
Here is a picture illustrating the architecture we used.
After a developer pushes to the repository, information in a webhook is sent to a server in the cloud that we manage. The server has a connection to our local build server through ZeroTier. The webhook server passes the information to the local build server and the build server does the rest. The build server pulls code, runs tests and distributes builds depending on the information in the webhook and information in the repository it’s building.
In this post, I’m going to show how we set up the webhook server.
1. Download and install the webhook onto your server
First, we needed a server that could receive HTTP requests (webhooks) from the repository and run scripts based on them. In other words, it needs to have a webhook API. We used an executable written in Golang called webhook to receive the webhooks. This can be found here.
After installing, we set it up to run with options:
webhook -hooks /path-to-hooks-file/hooks.json -verbose -port 9001 -ip 127.0.0.1 -hotreload
-hooks /path-to-hooks-file/hooks.json specifies the path to the hooks file, which we will show in the final step.
-verbose is for verbose logging.
-port 9001 and -ip 127.0.0.1 show where the webhook program is listening for webhooks.
-hotreload specifies that when the hooks file is changed, the server automatically picks up on the changes. This link is a useful list showing all the options for the webhook.
Although we have not set up a webhook to keep running, we have a script that contains the following, which we run to keep it going in the background:
(webhook -hooks /path-to-hooks-file/hooks.json -verbose -port 9001 -ip 127.0.0.1 -hotreload &) &> webhook_logs
That script runs a webhook in the background, so you can log out of the server, and it keeps running. All logs are also written to the webhook_logs file.
2. Connect server to outside world (nginx)
We create the following in an nginx configuration file, which sends the /hook/ endpoint to port 9001, where the webhook server is listening.
server {
    server_name    example.com
    location /hook/
    {
        proxy_pass https://127.0.0.1:9001/hooks/;
        proxy_set_header    Host                $host;
        proxy_set_header    X-Real-IP           $remote_addr;
        proxy_set_header    X-Forwarded-For     $remote_addr;
        proxy_set_header    X-Forwarded-Proto   $scheme;
        proxy_redirect      off;
    }
}
3. Specify hooks in the JSON input file (Bitbucket example)
A sample hooks.json file set up for Bitbucket is shown here:
[{
    "id": "ios-push-webhook",
    "execute-command": "https://lavalamplab.b-cdn.net/home/username/notify_build_server.sh",
    "command-working-directory": "/home/username",
    "pass-arguments-to-command":
    [
      {
        "source": "payload",
        "name": "actor.username"
      },
      {
        "source": "payload",
        "name": "push.changes.0.new.type"
      },
      {
        "source": "payload",
        "name": "push.changes.0.new.name"
      },
      {
        "source": "payload",
        "name": "push.changes.0.new.target.hash"
      },
      {
        "source": "payload",
        "name": "push.changes.0.new.target.message"
      }]
}]
"id": "ios-push-webhook" is the path of the webhook in the url.
"execute-command": "https://lavalamplab.b-cdn.net/home/username/notify_build_server.sh" is the script that gets run by the webhook
"command-working-directory": "/home/username" specifies the directory in which the command gets run
"pass-arguments-to-command" specifies an array of arguments that are sent to the command. In this example the payload of the webhook from bitbucket is parsed into command arguments. The description of the payload is here. Which includes:
- The name of the person who made the push
- What kind of push it was
- The name of the branch
- The hash of the commit
- The commit message
Next time
The script that gets run simply takes the arguments and passes them on to the build server, along with which repo the push was made to. That will be the topic of the next blog post, Where we will show the connection to the build server as well as the script that handles the jobs for making builds.


