



If you’ve been using Laravel, you’ve likely grown to love Blade. It makes creating the UI within your Laravel apps extremely easy. And with the Laravel/Ui package, it makes getting your basic auth scaffolding setup a breeze with just 2 simple commands. In this tutorial, we’ll go over how to get Vue and Blade to work together to make your frontend a more powerful one, without the need to create an API and a Single Page Application, by leveraging Vues components.
This tutorial was done using Laravel 7, but it should work with older versions of Laravel, too. The only difference would be that with Laravel 5, you won’t need to install the laravel/ui package, as it’s already included.
This tutorial also assumes you’ve got a Laravel application installed and have created a database for it too. Here is the GitHub repository I’ve created with the end result, if you want to just use that instead.
Step 1: Set up Vue in your application
There are many ways to install Vue in your Laravel project, but I’ll be going over the 2 main ways. The first method is to use the laravel/ui package to set up your auth scaffolding, which can be configured to have Vue included. The second method, which you would use if you already have your authentication setup or don’t want to use the default auth scaffolding Laravel provides, is to manually install Vue using NPM.
In both cases, we will be using Laravel Mix to compile our assets.
Method 1: Use Laravel/ui to install Vue
First, let’s begin by installing Laravel’s UI Package, which allows us to create a very basic auth scaffolding. Inside your projects directory, run:
composer require laravel/ui
Then we can get our auth views and controllers set up using the next command. Note: If you have existing files with the same names, it will override them! The command does warn you if it detects this, and you’ll be prompted if you wish to override these files.
php artisan ui vue --auth
The above command makes the following changes.
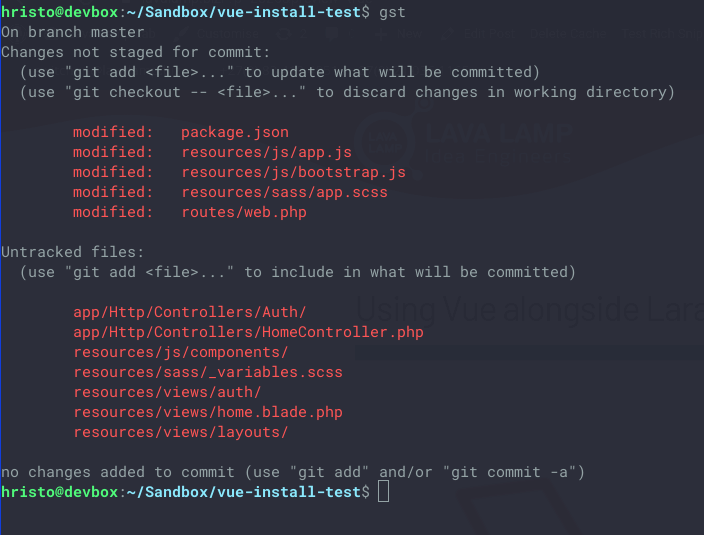
Essentially, it’s creating the views and controllers required for authentication and authorisation, and because we’ve specified we wanted to use Vue, it added Vue to our
package.json and created an example component. It also includes the Vue template compiler.
Then you’ll want to compile the new CSS and JS and run your migrations, and you’ll be good to go with step two:
npm install && npm run dev Or if you wish to watch for changes npm install && npm run watch and then
php artisan migrate
Method 2: Manually install Vue
This method assumes you’ve already got some kind of CSS library installed on your project. Firstly, we need to install Vue and the Vue template compiler. So first, we run:
npm install vue
And then copy the following to your resources/js/app.js
Now we need to create a directory to store our components. From the root directory of your project:
mkdir resources/js/components && touch resources/js/components/ExampleComponent.vue
Then inside resources/js/components/ExampleComponent.vue Paste the following:
And finally, run:
php artisan migrate
npm run dev
Step 2: Test that Vue is installed
Before we do anything else, let’s test that our installation worked. Make a new blade file:
touch resources/views/test.blade.php
And copy the following code inside of it:
This code is just a super basic version of Laravel UI’s app.blade.php. I’ve included the Bootstrap CDN so that this tutorial is consistent for both of the above-mentioned. We need to make this view accessible, so edit your routes/web.php file and change the root URL as such, or make it whatever else you wish:
php artisan serve
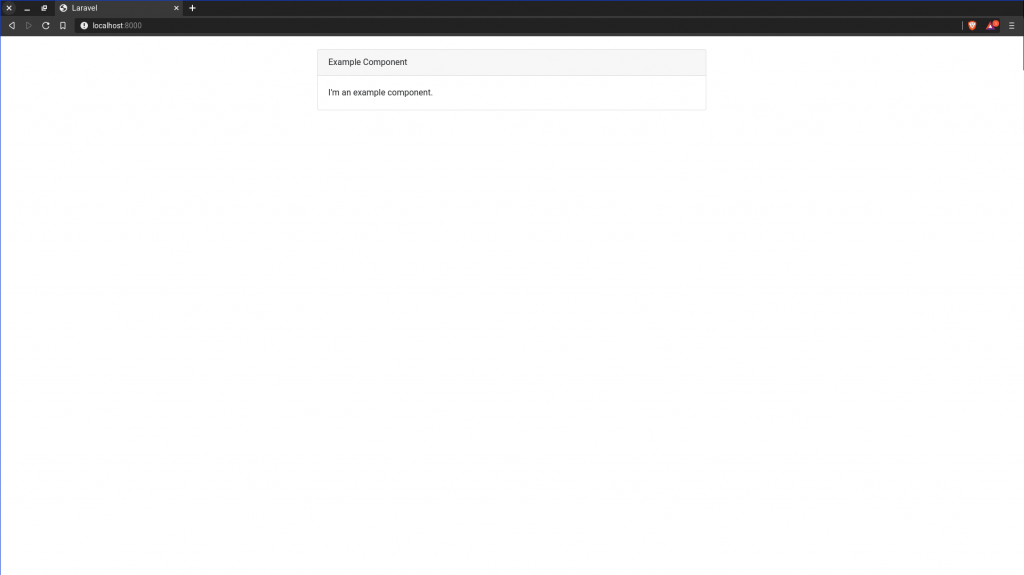
Then navigate to localhost:8000/ (or whichever url youve set it to) in your browser and you should see the following:
Step 3: Use Vue and Blade together.
First things first, we’re going to want to create some users. We’ll use Tinker and a User Factory to create them quickly:
php artisan tinker --execute="factory(App\User::class, 3)->create();"
This code uses the default database/factories/UserFactory.php to create a random user. The The 3 argument inside the factory function tells Laravel to create 3 users. Then we want to create a Vue component and a Blade file to display these users.
touch resources/js/components/UserListComponent.vue resources/views/user_list.blade.php
Inside resources/js/components/UserListComponent.vue Paste the following
And inside resources/views/user_list.blade.php
Then we need to import our new component into resource/js/app.js, right next to the example component provided.
...
Vue.component('example-component', require('./components/ExampleComponent.vue').default);
Vue.component('user-list', require('./components/UserListComponent.vue').default);
...
Then we may need to create a user controller:
php artisan make:controller UserController
Then inside your app/Http/Controllers/UserController.php Paste the following:
And finally, replace your route URL in your routes/web.php file to direct to the user controller instead:
...
Route::get('/', "UserController@index");
...
Now compile your assets (if you aren’t using npm run watch):
npm run dev
Now, when you navigate to localhost:8000/ You should see the following (except you’ll have just 3 users):
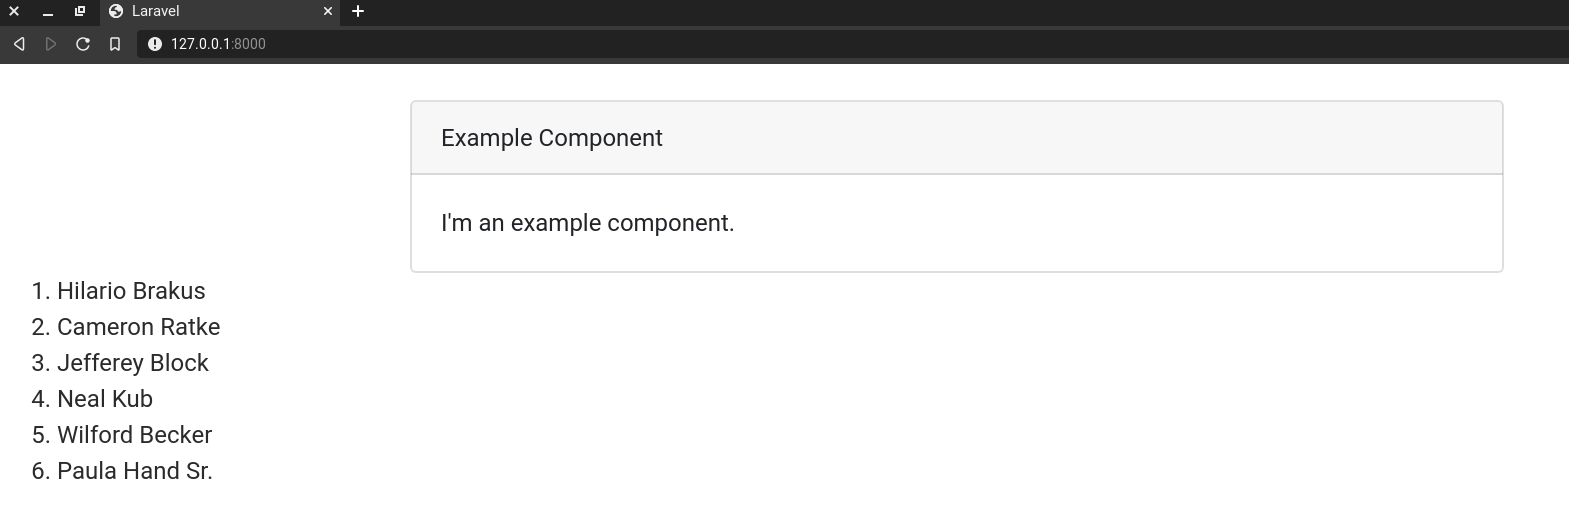
I would recommend you remove the example-component, however.
What’s next
This is a super basic usage of this, but I hope you can see how useful this can be within a project. Using Vue this way also allows you to start integrating Vue into an existing codebase without any issues. You can also pass all kinds of data to Vue. Here are some props I’ve used for a form:
- errors=”{{ $errors }}”
- old=”{{ json_encode(Session::getOldInput()) }}”
- action-url=”{{ url()->previous() }}”
- csrf-token=”{{ csrf_token() }}”
If anything here confuses you or is incorrect, feel free to leave a comment or pop me an email at hristo (dot) mitev (at) lavalamp.biz


